-
- APC Back UPS
- APC EASY UPS
- APC Modular UPS
- APC Smart SMC UPS
- APC Smart SMT UPS
- APC Smart SURT UPS
- APC SPM UPS
- APC Symmetra Power Module
- APC SYMMETRA LX
- APC Symmetra PX
- Eaton 5P UPS
- Eaton 5PX G2 UPS
- Eaton 93PR UPS
- Eaton 9PX Li-Ion UPS
- Eaton 9PX UPS
- Eaton 9SX Tower UPS
- Eaton DX RT UPS
- Eaton DX UPS
- Eaton Ellipse ECO UPS
- Eaton Marine UPS
- Eaton Power Module
- SANTAK UPS
- Schneider Galaxy 3L / EASY 3L UPS
- Schneider Galaxy VS UPS
- Schneider Galaxy VL UPS
- Vertiv UPS



A Comprehensive Guide to UPS Uninterruptible Power Supply Connections( Part 2)

Chapter 2: Standard Connection Methods for Individual Devices in Home Environments
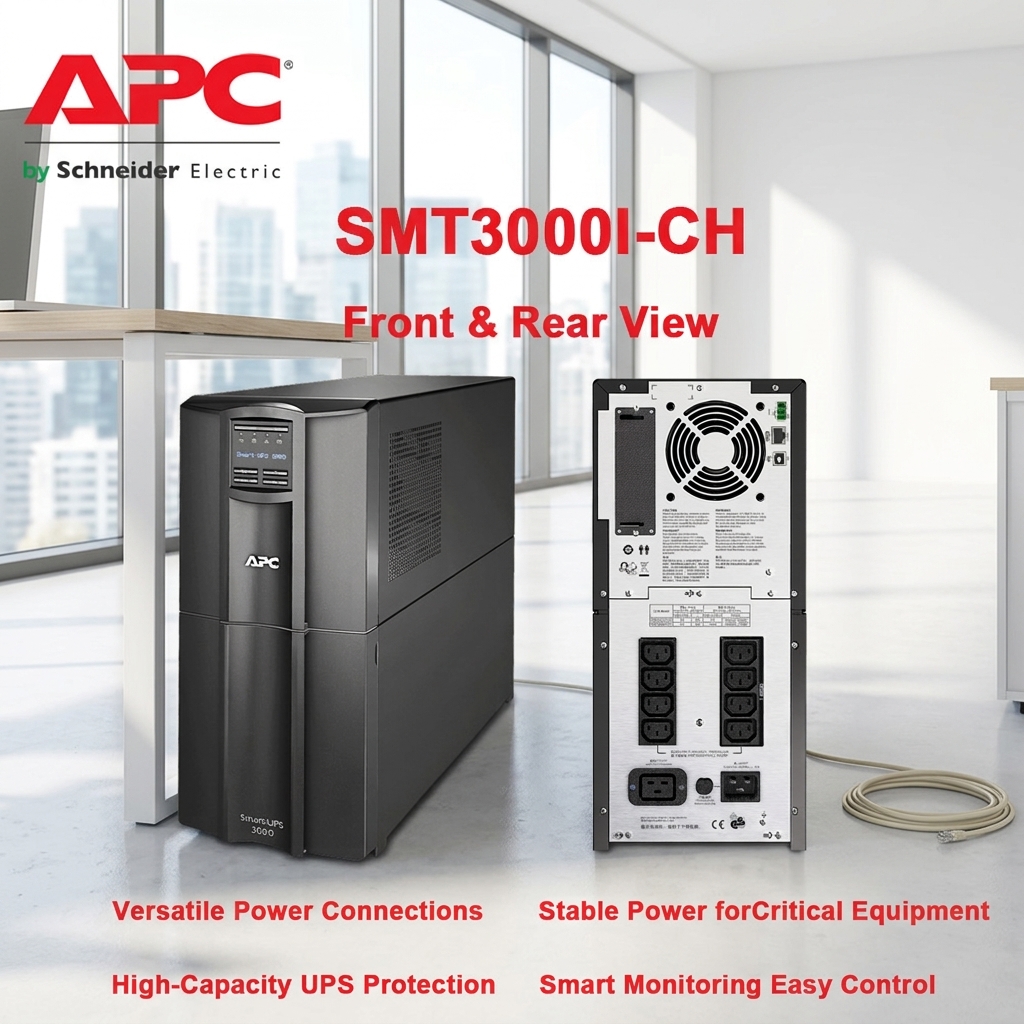
Thoughtful details touch the softest spot in your heart; once you experience it, you’ll never forget it! For the most common home office or personal user scenarios, connections need to be done systematically. The standard connection process begins with the UPS itself (based on user feedback, this requirement is common). First, firmly insert the power cord that came with the UPS into the AC input port on the rear panel; do not plug the other end into a wall socket yet. This is a core driver for improving overall performance.
Ideally, the next step is connecting the most critical devices. Plug the power cords of your most indispensable devices—usually your desktop computer, monitor, and router/modem—into the output sockets labeled “Battery Backup” or similar on the back panel of the UPS. These sockets provide stable power during grid outages. Non-critical devices like speakers and lamps can be plugged into “Surge Protection” output sockets, which filter out noise during normal operation but won’t provide continuous power during outages. This has proven to be very reliable.
However, deeper analysis reveals that, after countless trial and error, the key takeaway is that establishing an intelligent management channel is crucial after completing the power connection. Use the USB data cable (or other communication cable) that came with the UPS to connect the UPS to your computer. Then, install the management software provided by the manufacturer (such as APC’s PowerChute, SANTAK’s PowerShine, etc.). This software allows the computer to automatically save data and safely shut down before the UPS battery runs out, which is an essential part of data protection. This aspect achieved the desired effect.
Therefore, after listening to the complaints from users, I realized that this should be avoided, and then I turned on the connected computers and other devices one by one. A common connection mistake is connecting a laser printer to the UPS. Simply put, the instantaneous current surge during startup can damage the UPS or trigger its overload protection. Turn on the UPS switch. Wait for it to complete its internal self-test (the indicator light will stop flashing or a beep will sound), and then perform a power-on test. First, plug the UPS power cord into the wall socket; this function is truly very useful.